
This is a summer favorite in the Kosher, She Eats kitchen. We grow our own garlic scapes and jalapeños and Kosher Hubby cold smokes his own salmon. (Yes, I know... overachievers.) One Sunday morning we decided to forgo our usual cheesey eggs (another KSE kitchen invention) and make frittatas with whatever was in our fridge. I will share the 'recipe' and preparation instructions below but first some ideas and explanations.What are garlic scapes? There are two main varieties of garlics and many sub-varieties. These two main varieties are hard-neck and soft-neck. Soft-neck garlic looks just like a mutant, large blade of grass. The magic is below ground with the garlic clove. Hard-neck garlics are neat because they give you TWO edible products. The first is the scape, which if left unpicked will  become a flower with little bulbils (teeny tiny garlics). However, you can cut them off and eat them. They taste like a cross between garlic and green onion. Obviously, the second product you get from a hard-neck is the garlic clove. Here's a picture of our Kosher puppy with our garlics from last season. You can see the scape begins to curl and are fully curled when they are ready.Okay, ideas... this is sort of a kitchen sink dish. You can put what ever you want in here. We choose jalapeños, scapes, cheddar cheese, and smoked salmon because that is what we had in the house. You can use other types of peppers (hot or sweet), regular garlic, mushrooms, onions, spinach, goat cheese, whatever you want!How many eggs? Well... it's a safe bet to do two eggs per person. It depends on how many people, how big your pan is, and how hungry you are. For the larger size pan that we have, we would recommend six eggs. I am not going to put a quantity below, you can toss as much or as little in as you want!As for pans... we used our older non-stick skillets and no additional oil or spray however, this recipe calls for them to go into the oven SO there are a few caveats.1. Non-stick in the oven decreases the lifetime of the pan. We decided to designate a couple of our pans for oven usage, knowing that they will have to be replaced sooner. Fortunately, non-stick isn't too expensive.2. NO PLASTIC HANDLES IN THE OVEN!!Other option: you can, instead of using a non-stick pan, heavily coat a stainless steel pan with oil/butter/non-stick spray. The goal here is to have the frittata slide right out at the end and not make a mess. You will cut this like a pie, so staying together is a virtue for this recipe. We love this pan (this size is the smaller size we use) - Professional Non-Stick Restaurant Frying Pan Size: 8"- the rubber handle is removable![ingredients]Preparation:
- Set your oven to broil
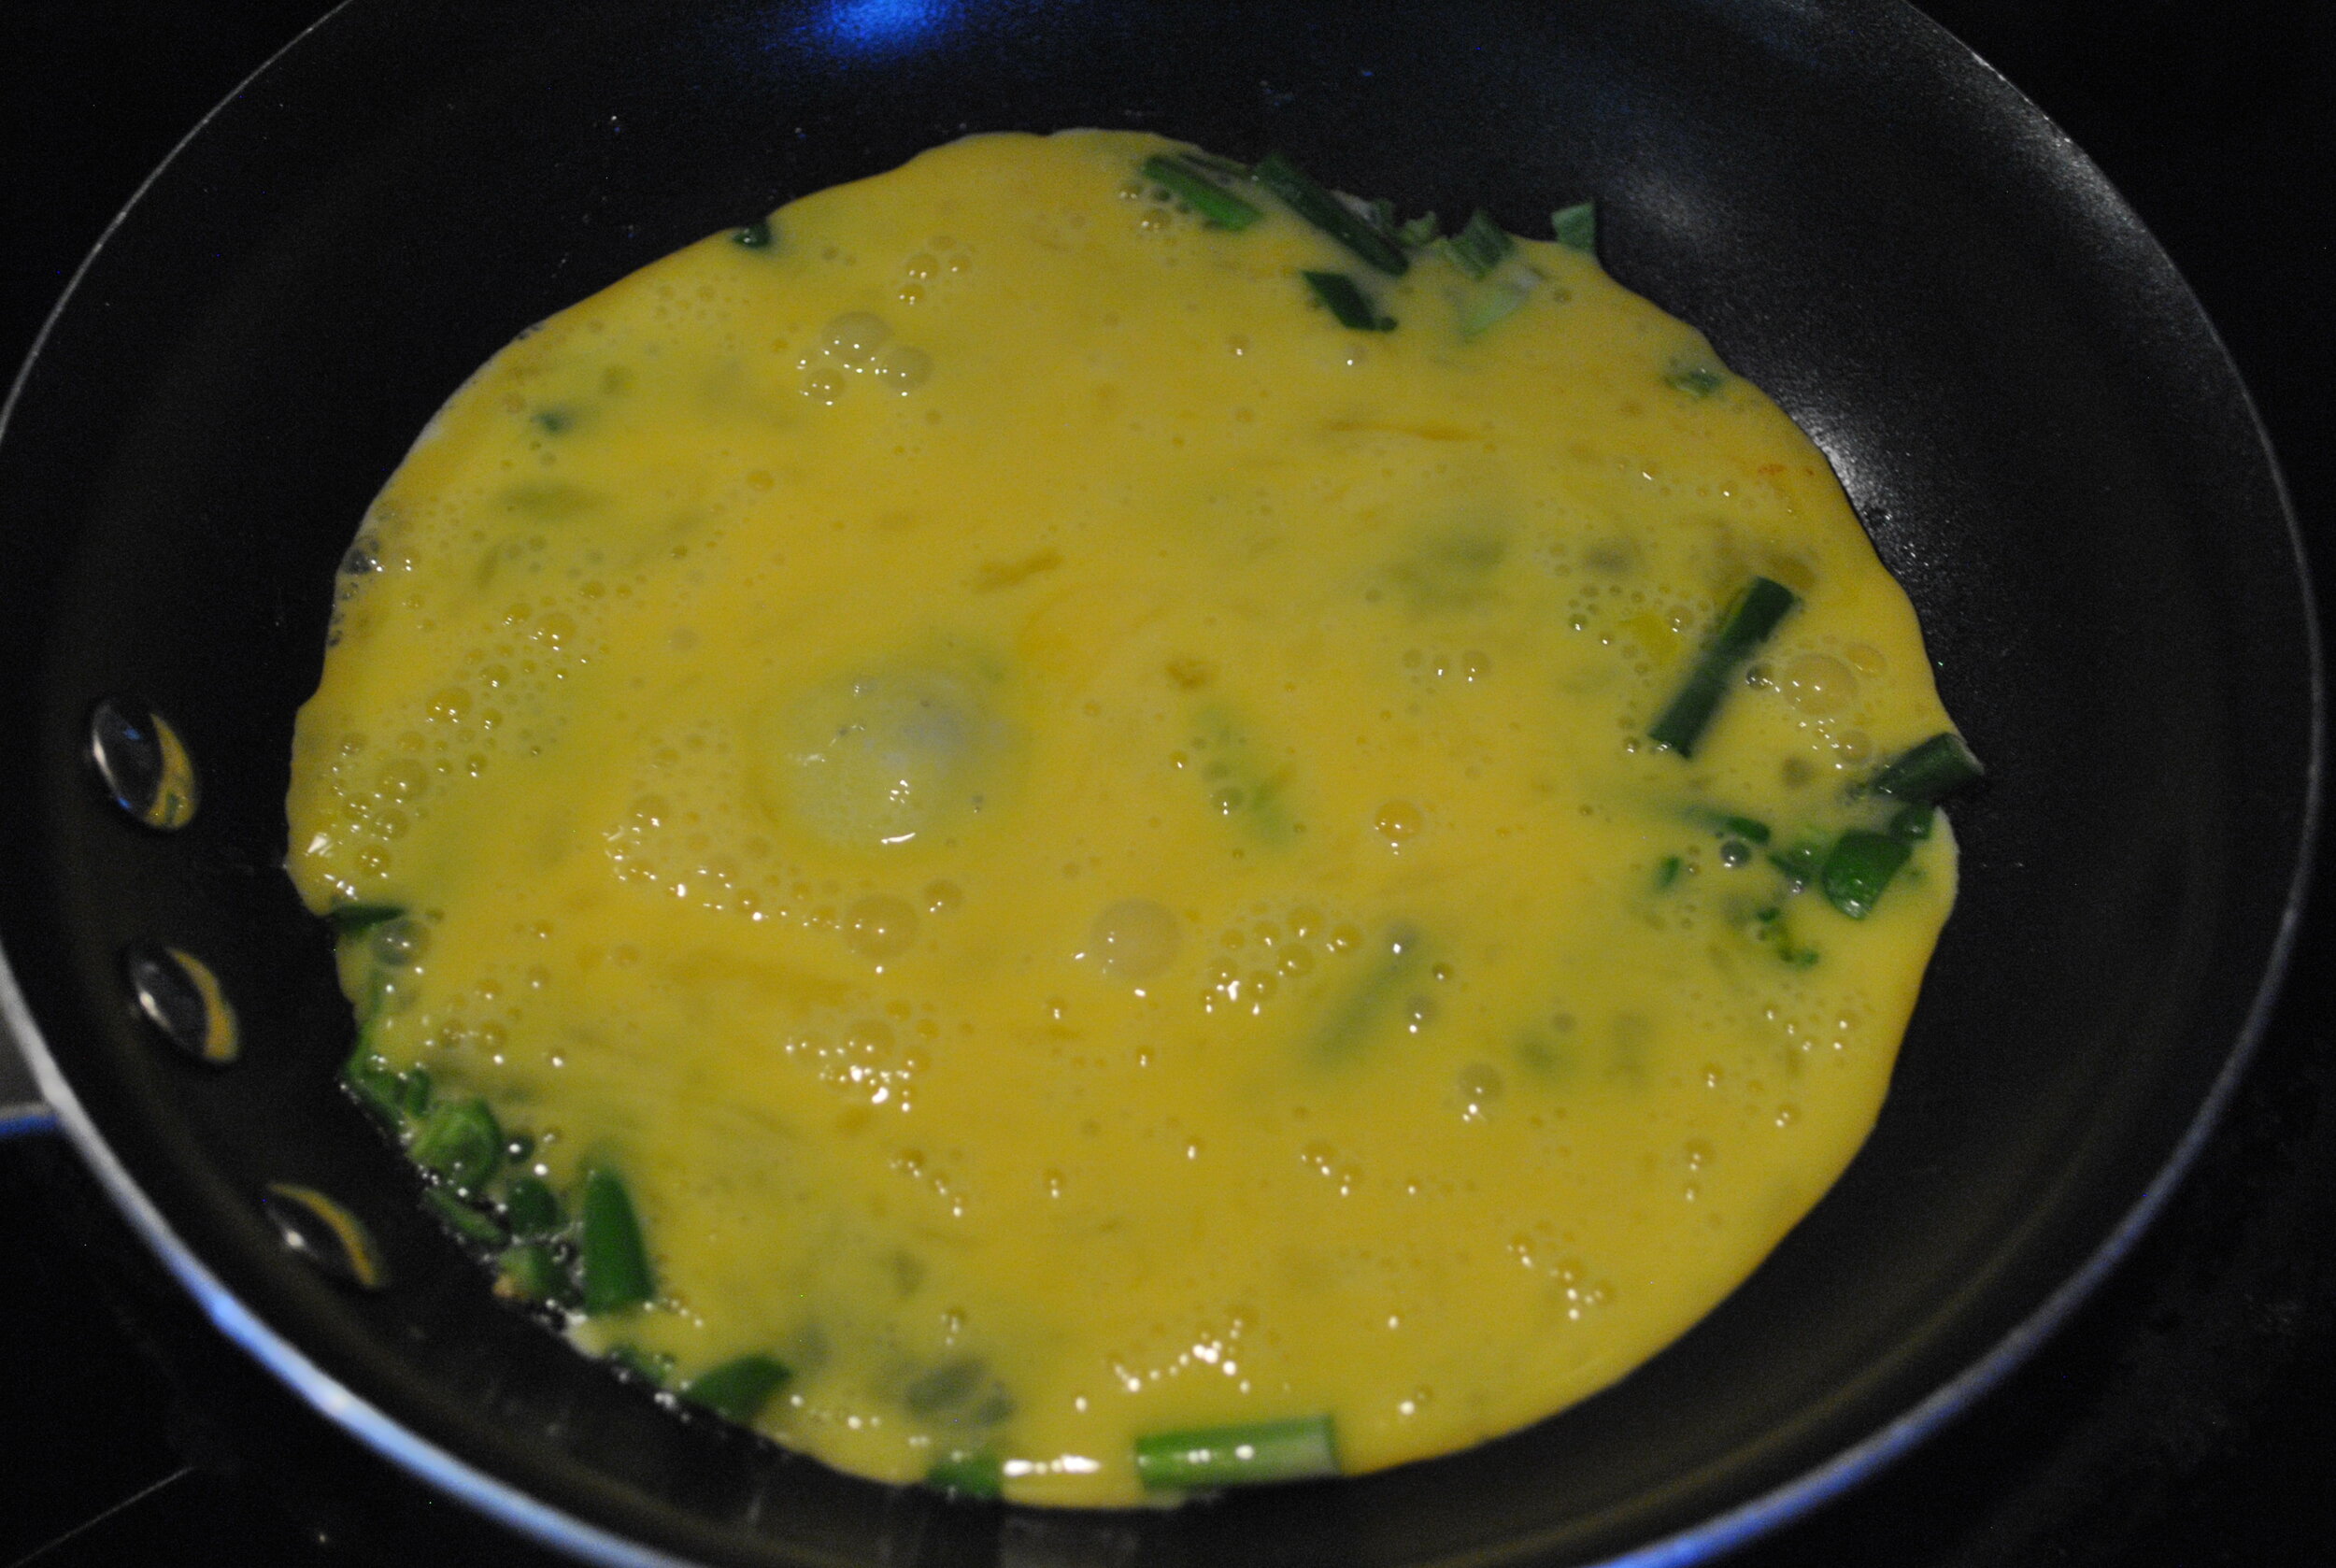
- Dice jalapeños and chop scapes then toss them in the pan with butter to sauté. Sauté for approx. 5 minutes.
- Crack your eggs into a bowl (NOT THE PAN) and beat them together with approx 1 tablespoon of milk or cream (or half and half if you are out) per egg.
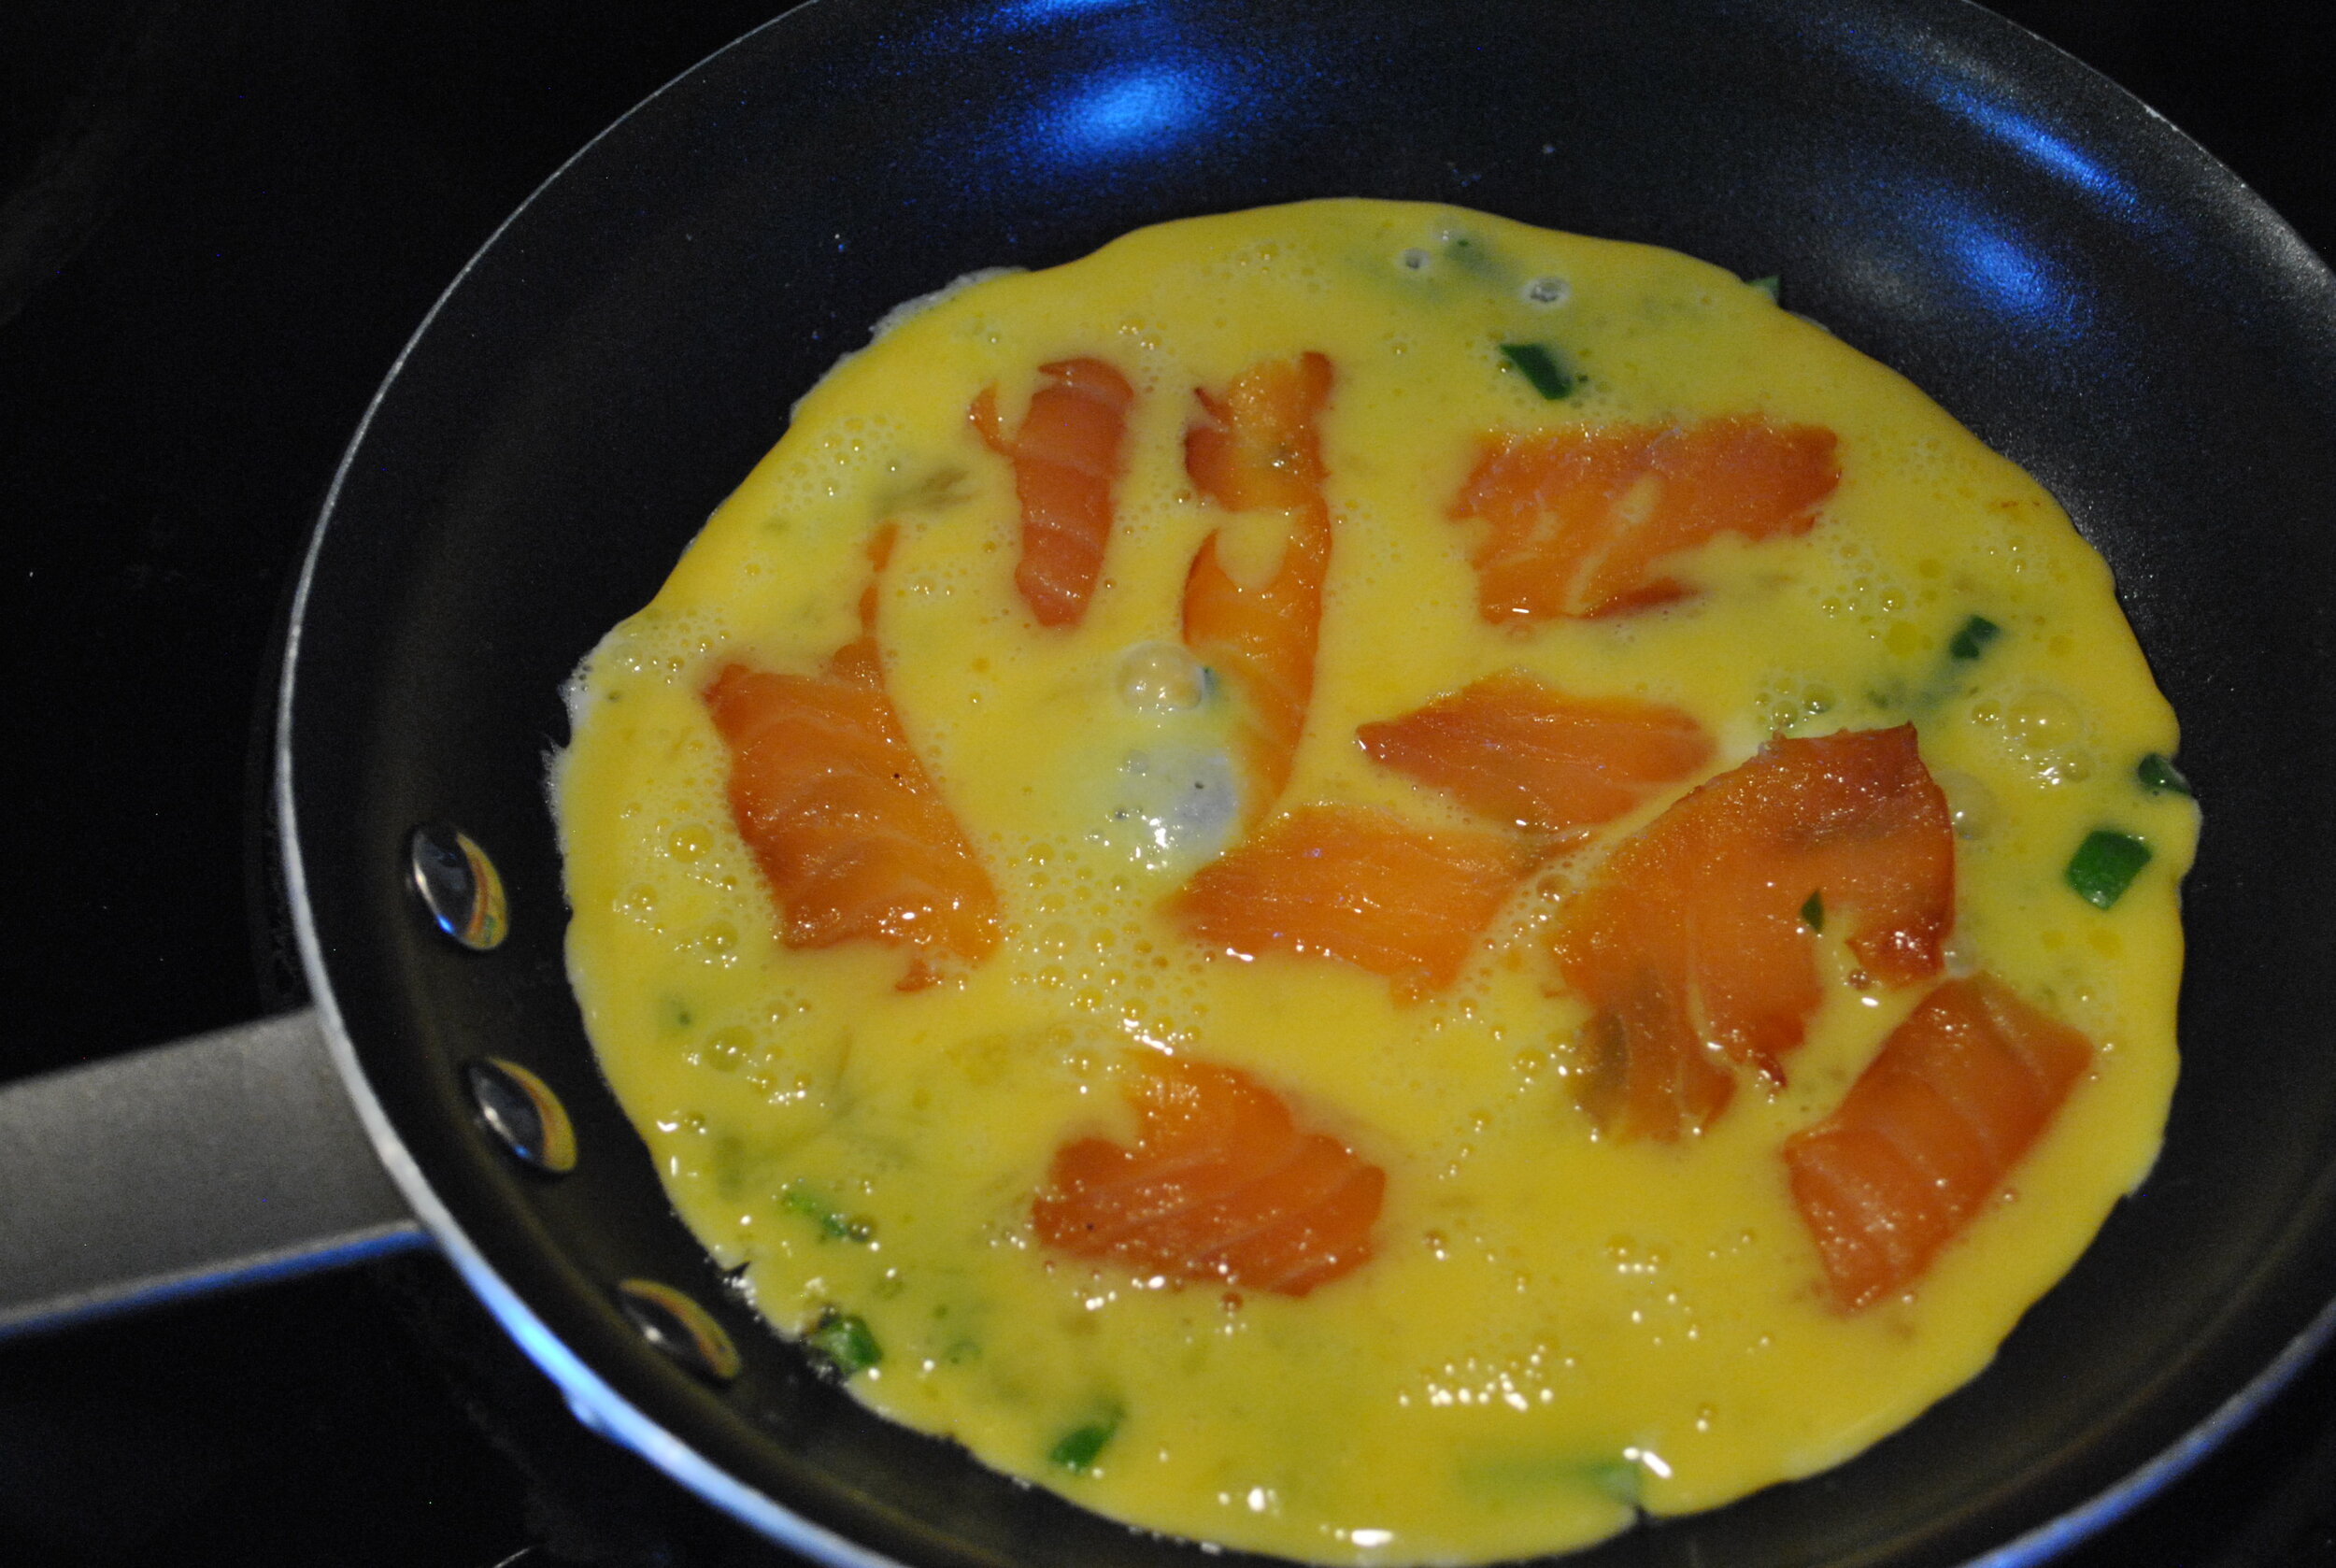
- Pour the egg mixture into the pan with the veggies and let cook for a minute or two and then layer the salmon on top.
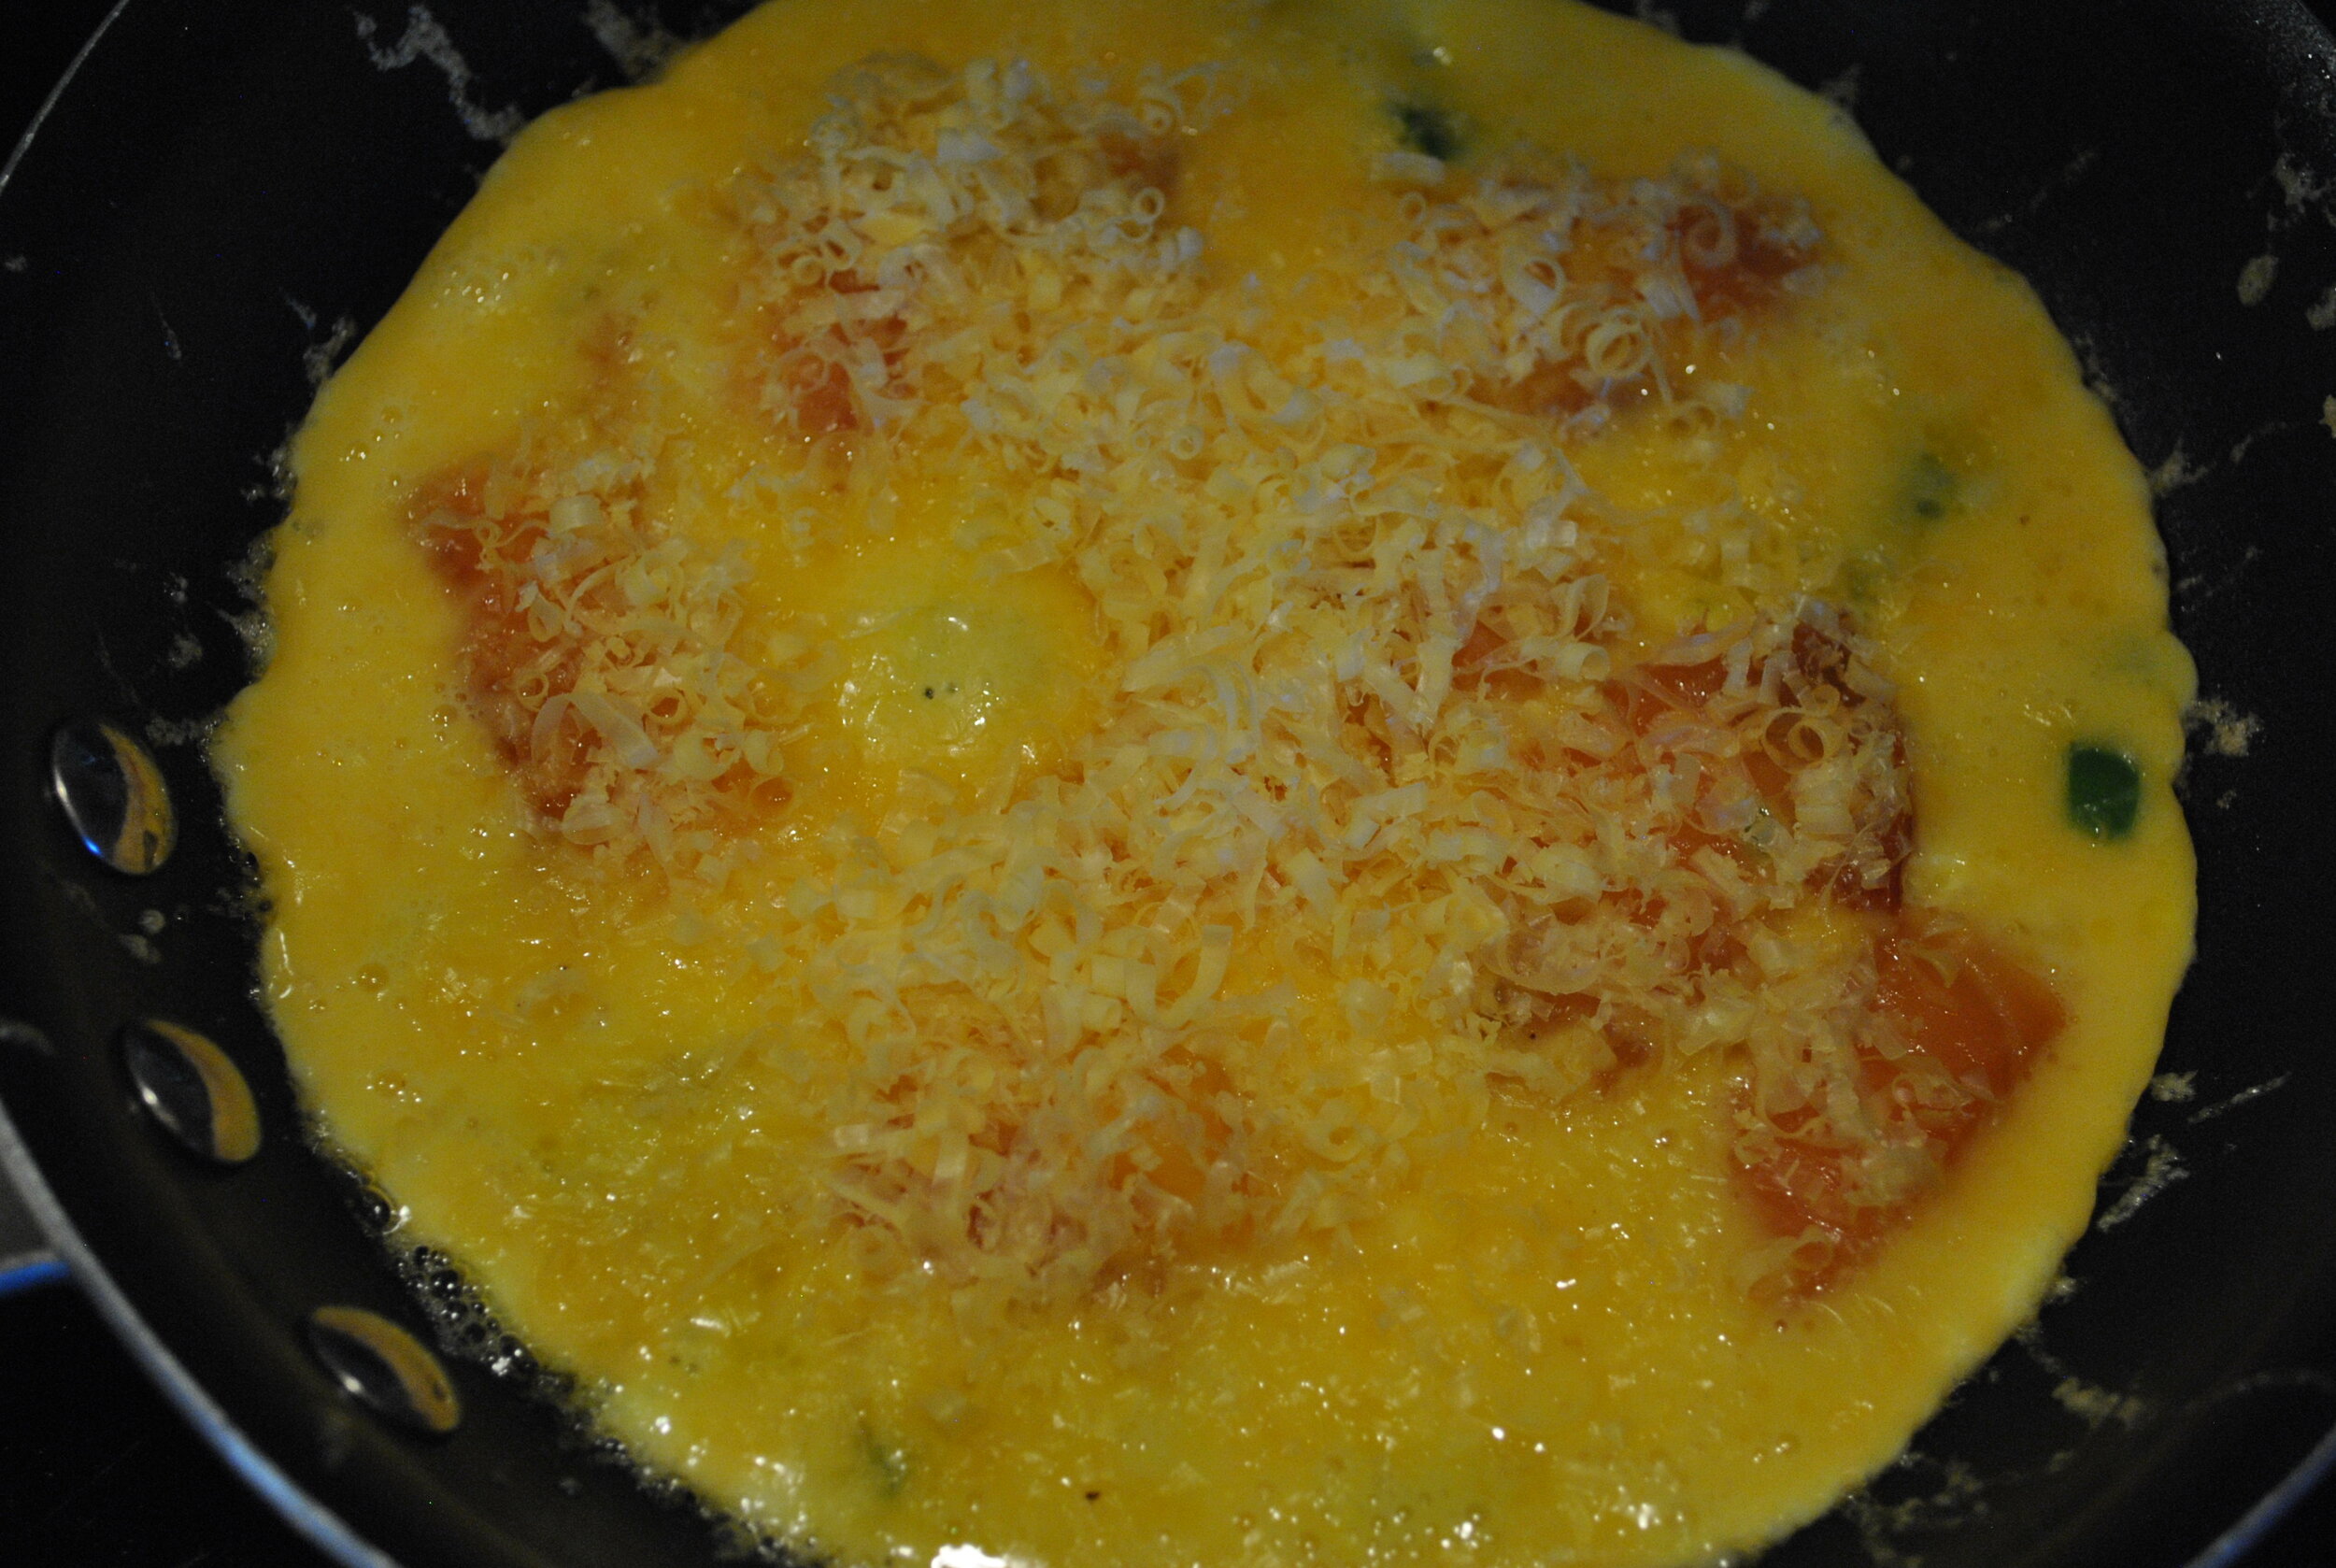
- Grate cheese on top of the mixture. Add as much as you like.
- Here's the tricky part... when to put in the oven - let the eggs cook until they begin to set up on the outer ring of the pan. It is now time to put it in an oven. Put it on the top rack, right under the broiler.
- Keep watch on the frittata and pull it out when it begins to get golden brown on the top.
- Pull the frittata out and serve immediately. You can top with chopped chives or dill. We did one of each and really enjoyed both!
The process in pictures: 


 See it starting to set up/cook on the sides? Time for the oven!
 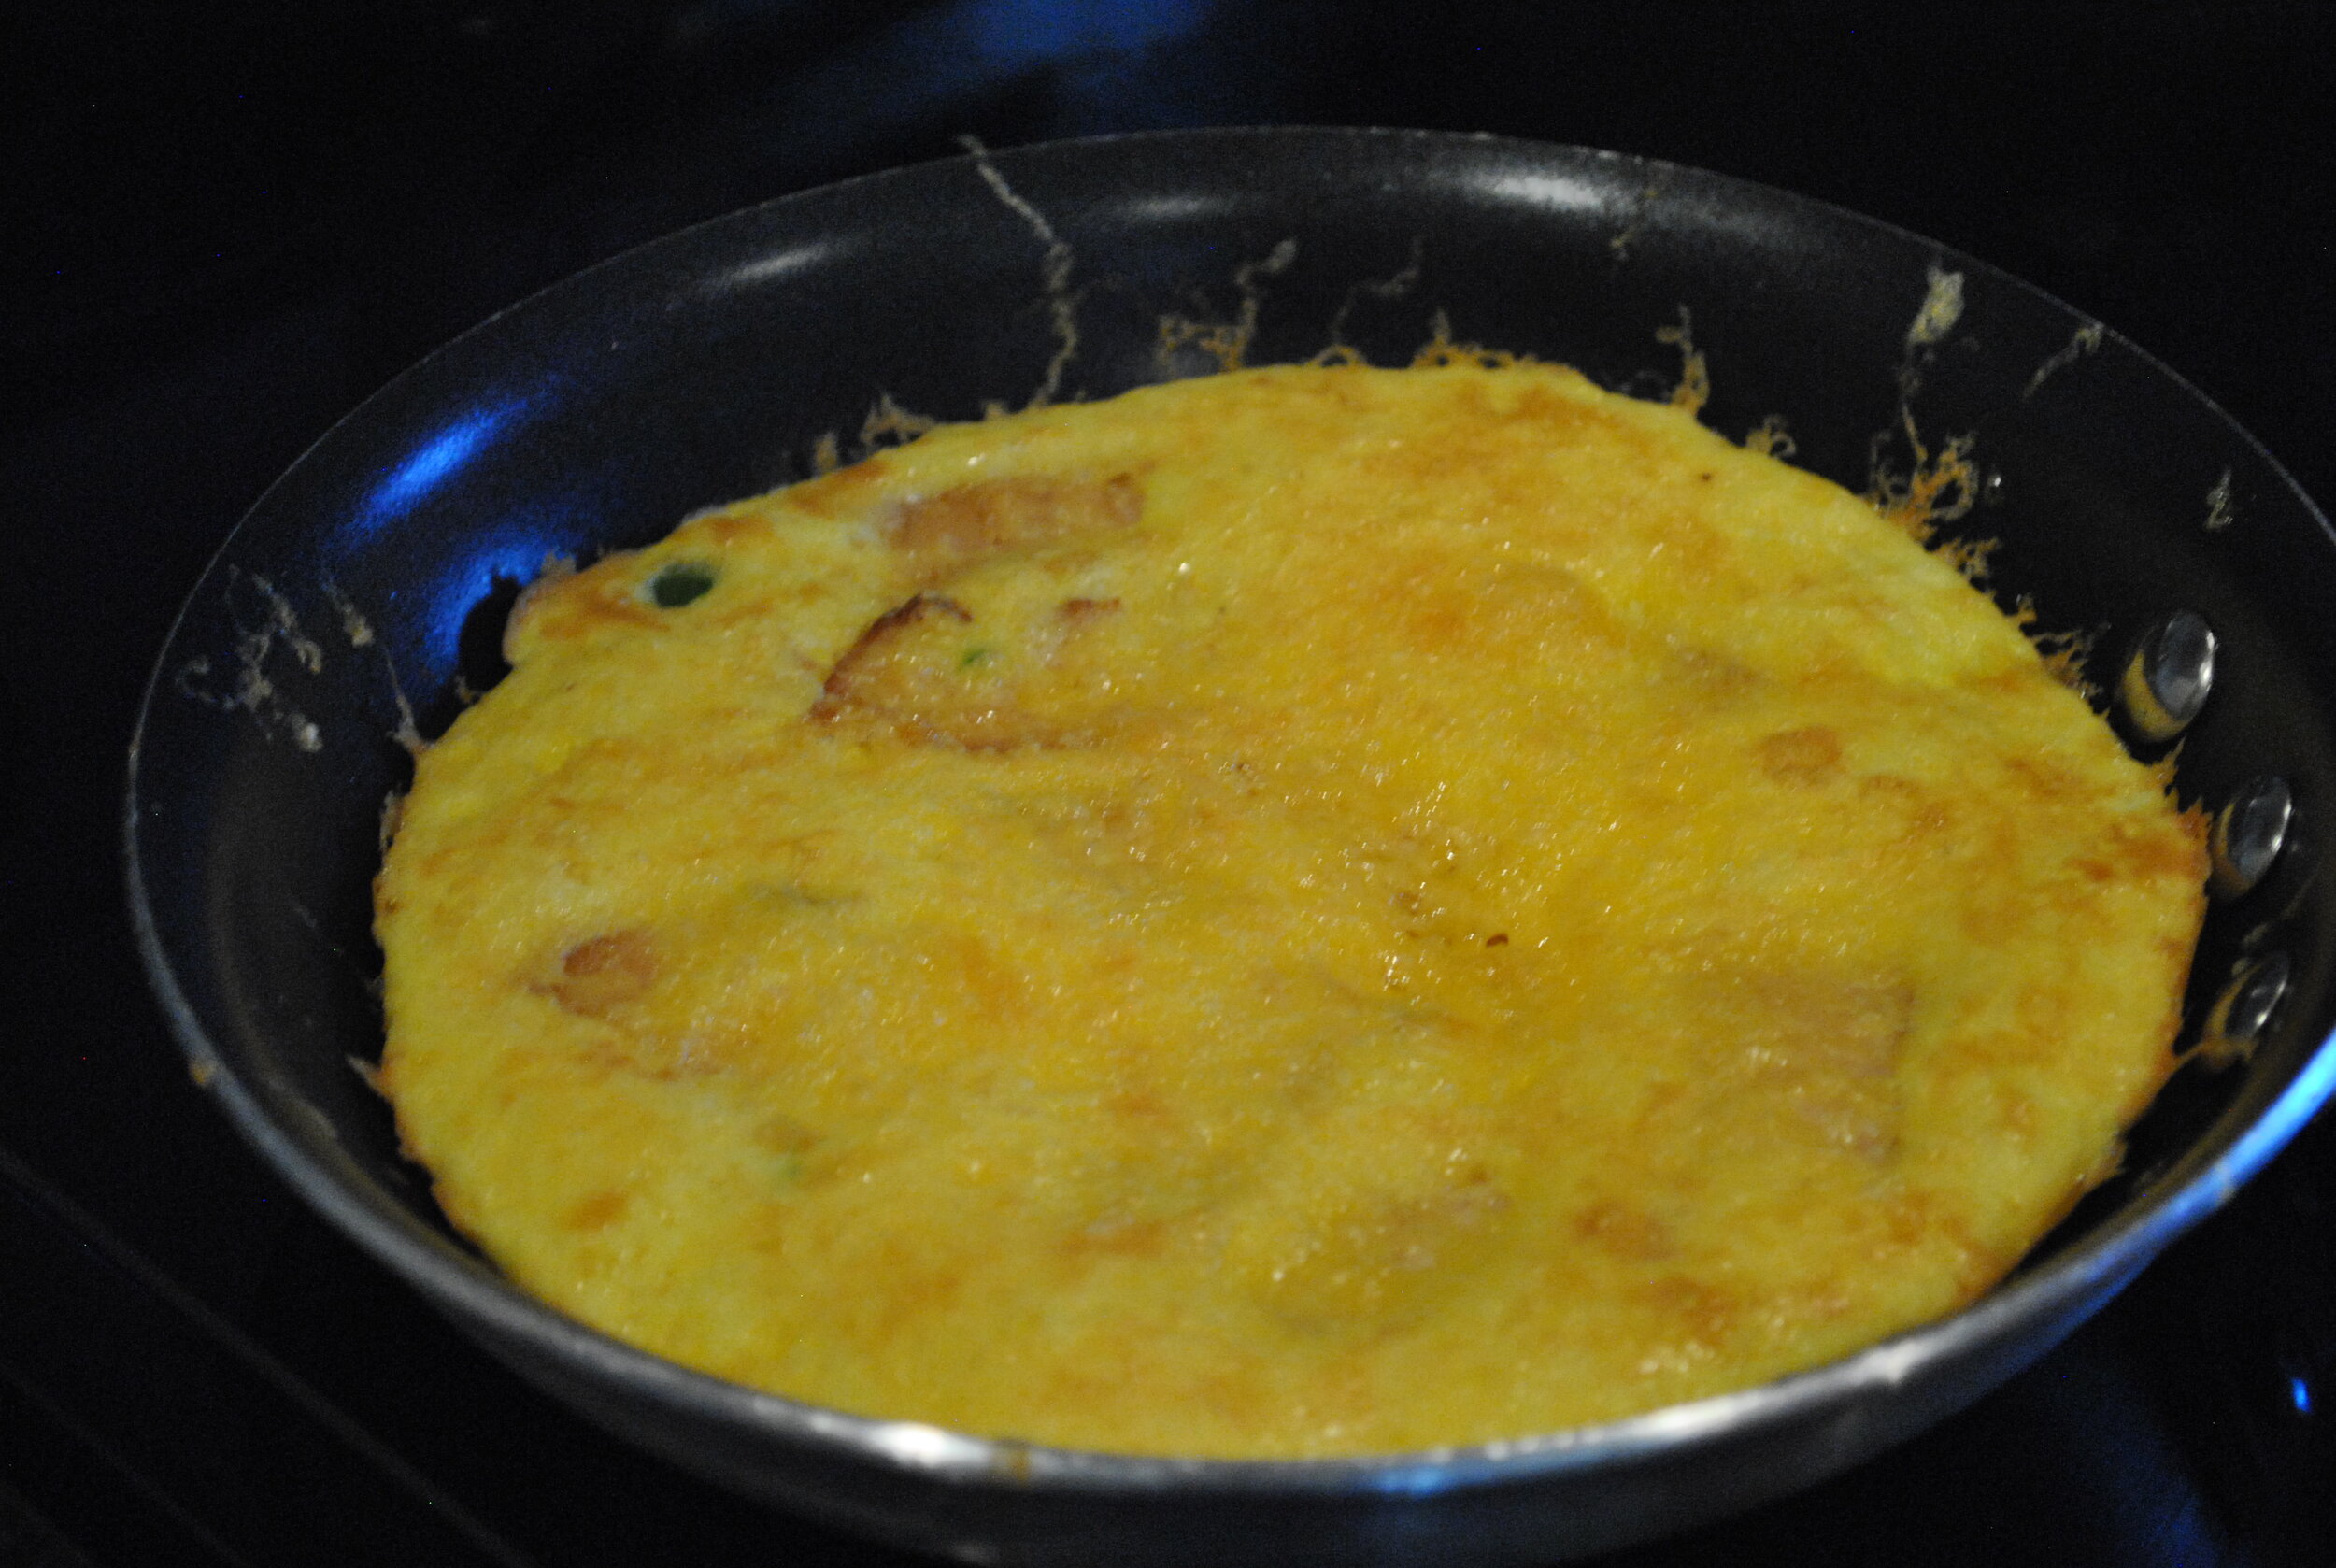 Post oven... no flipping necessary!
 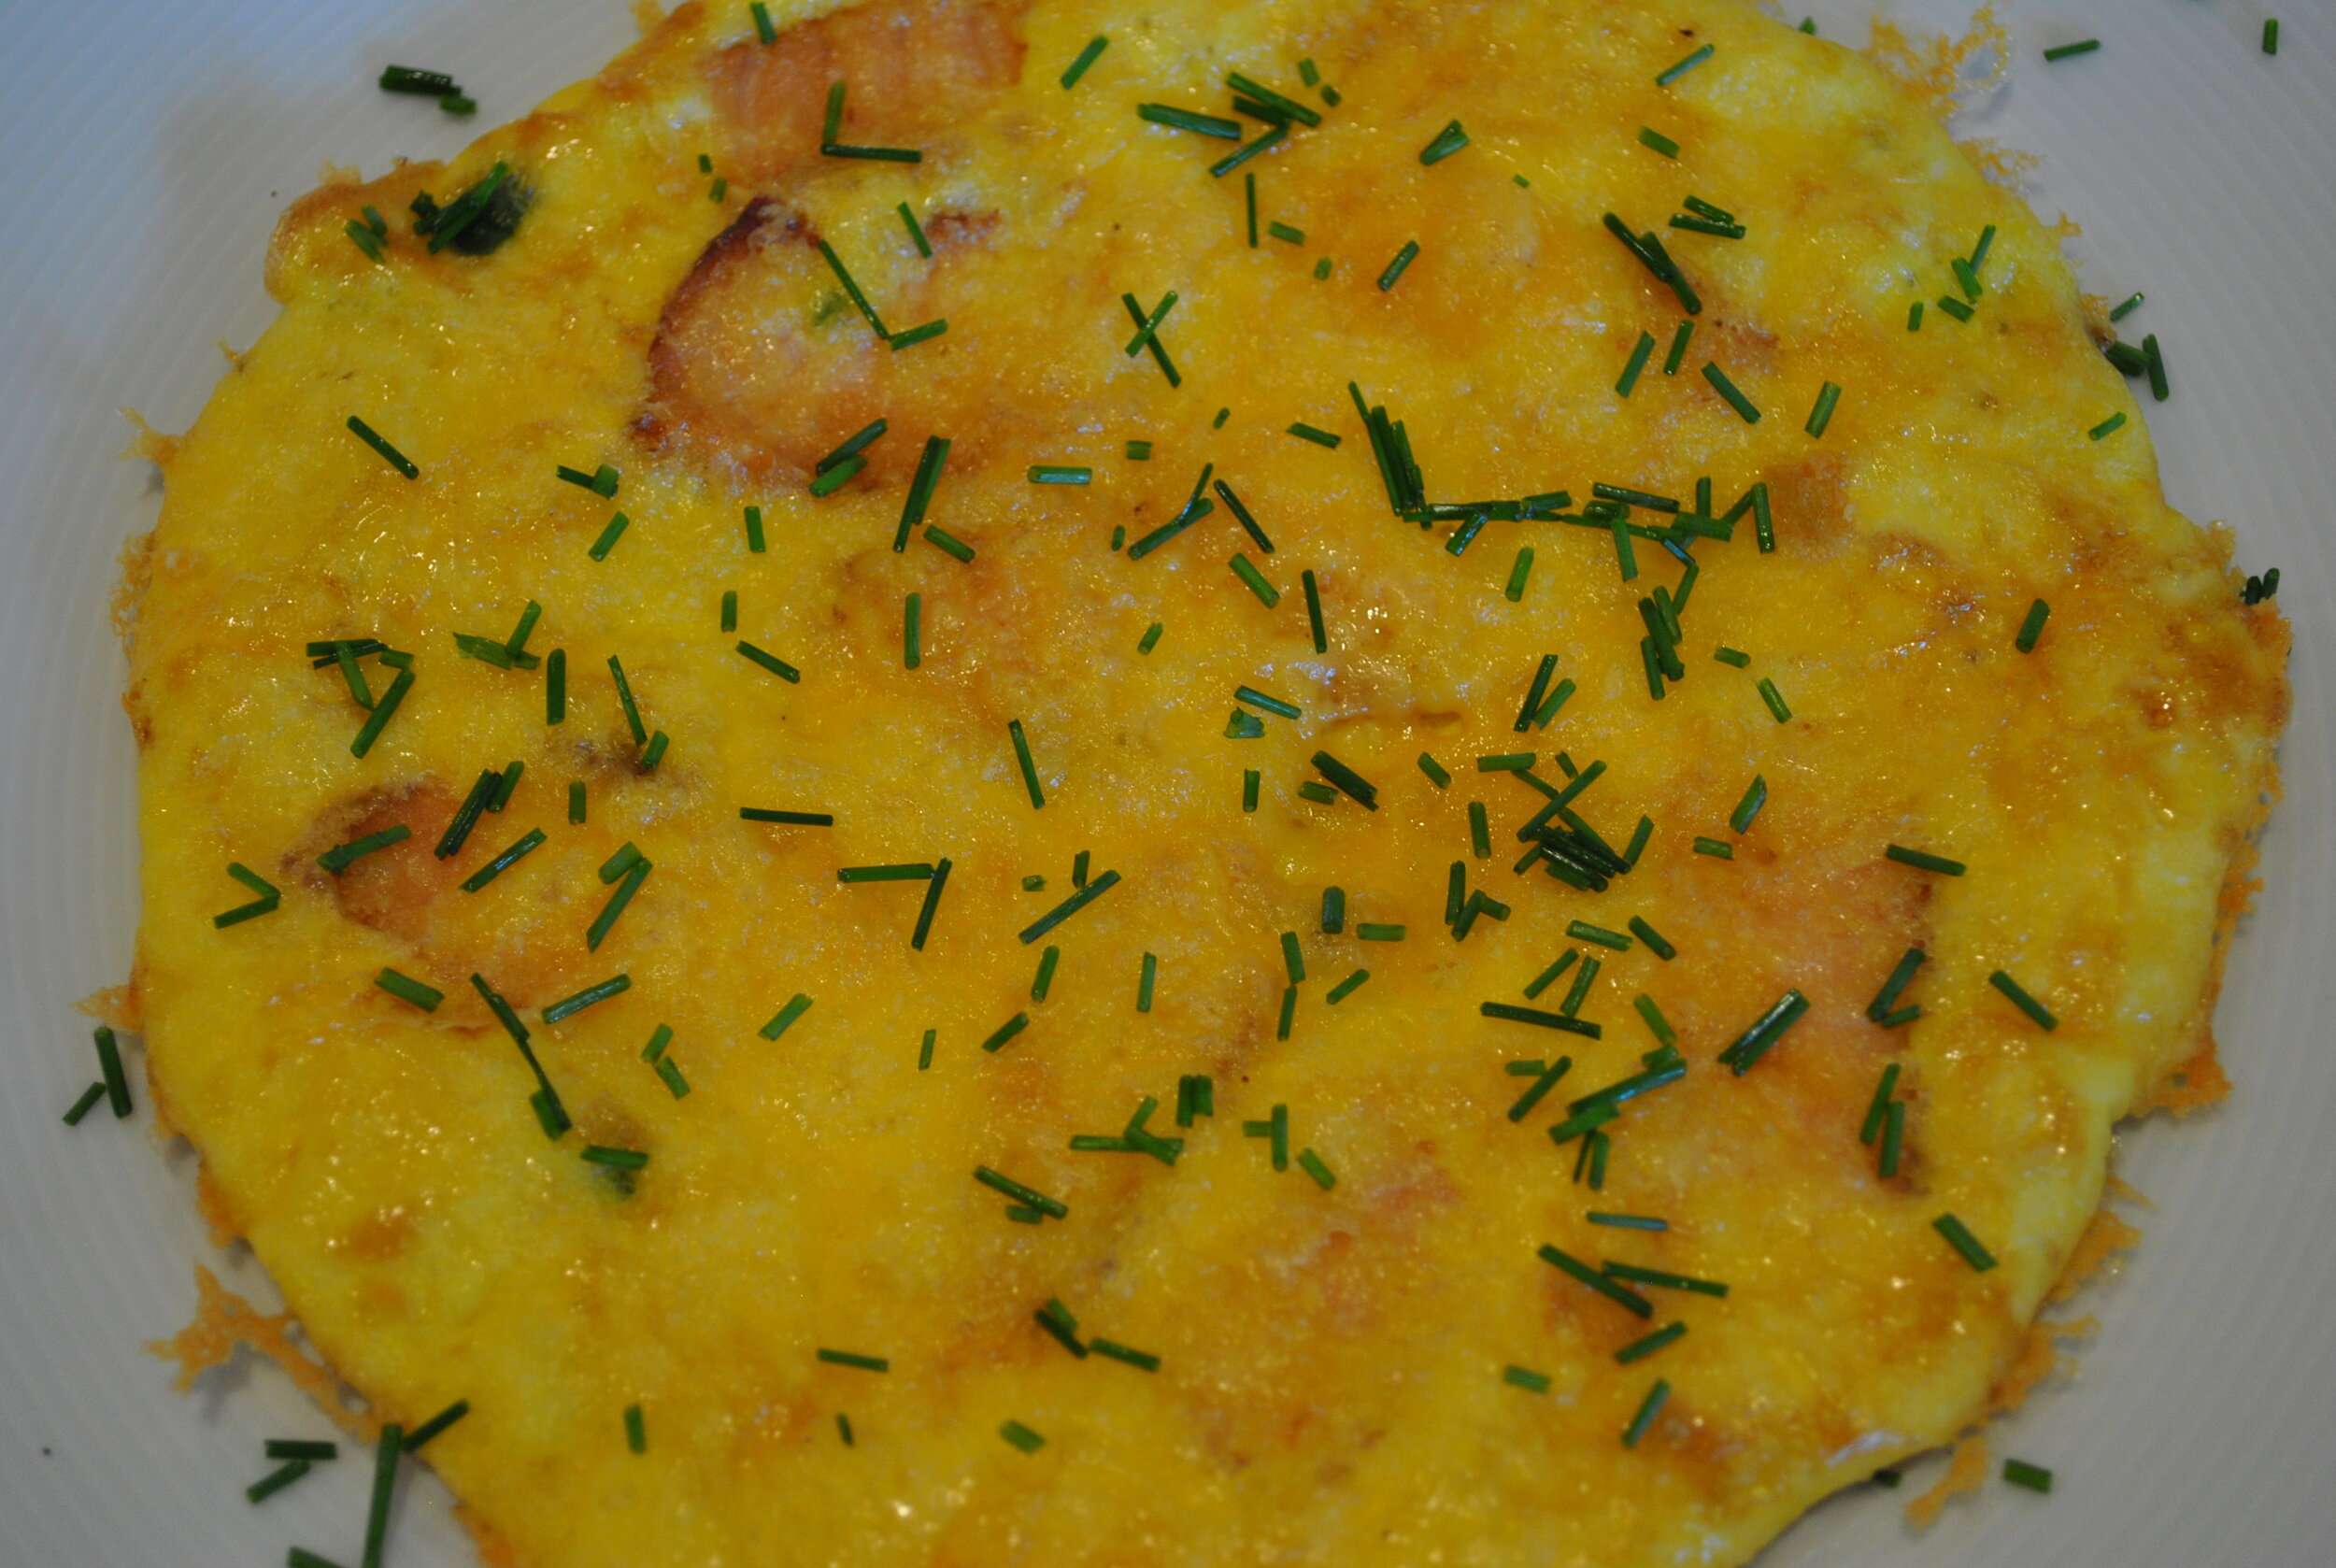 Those are chives!
 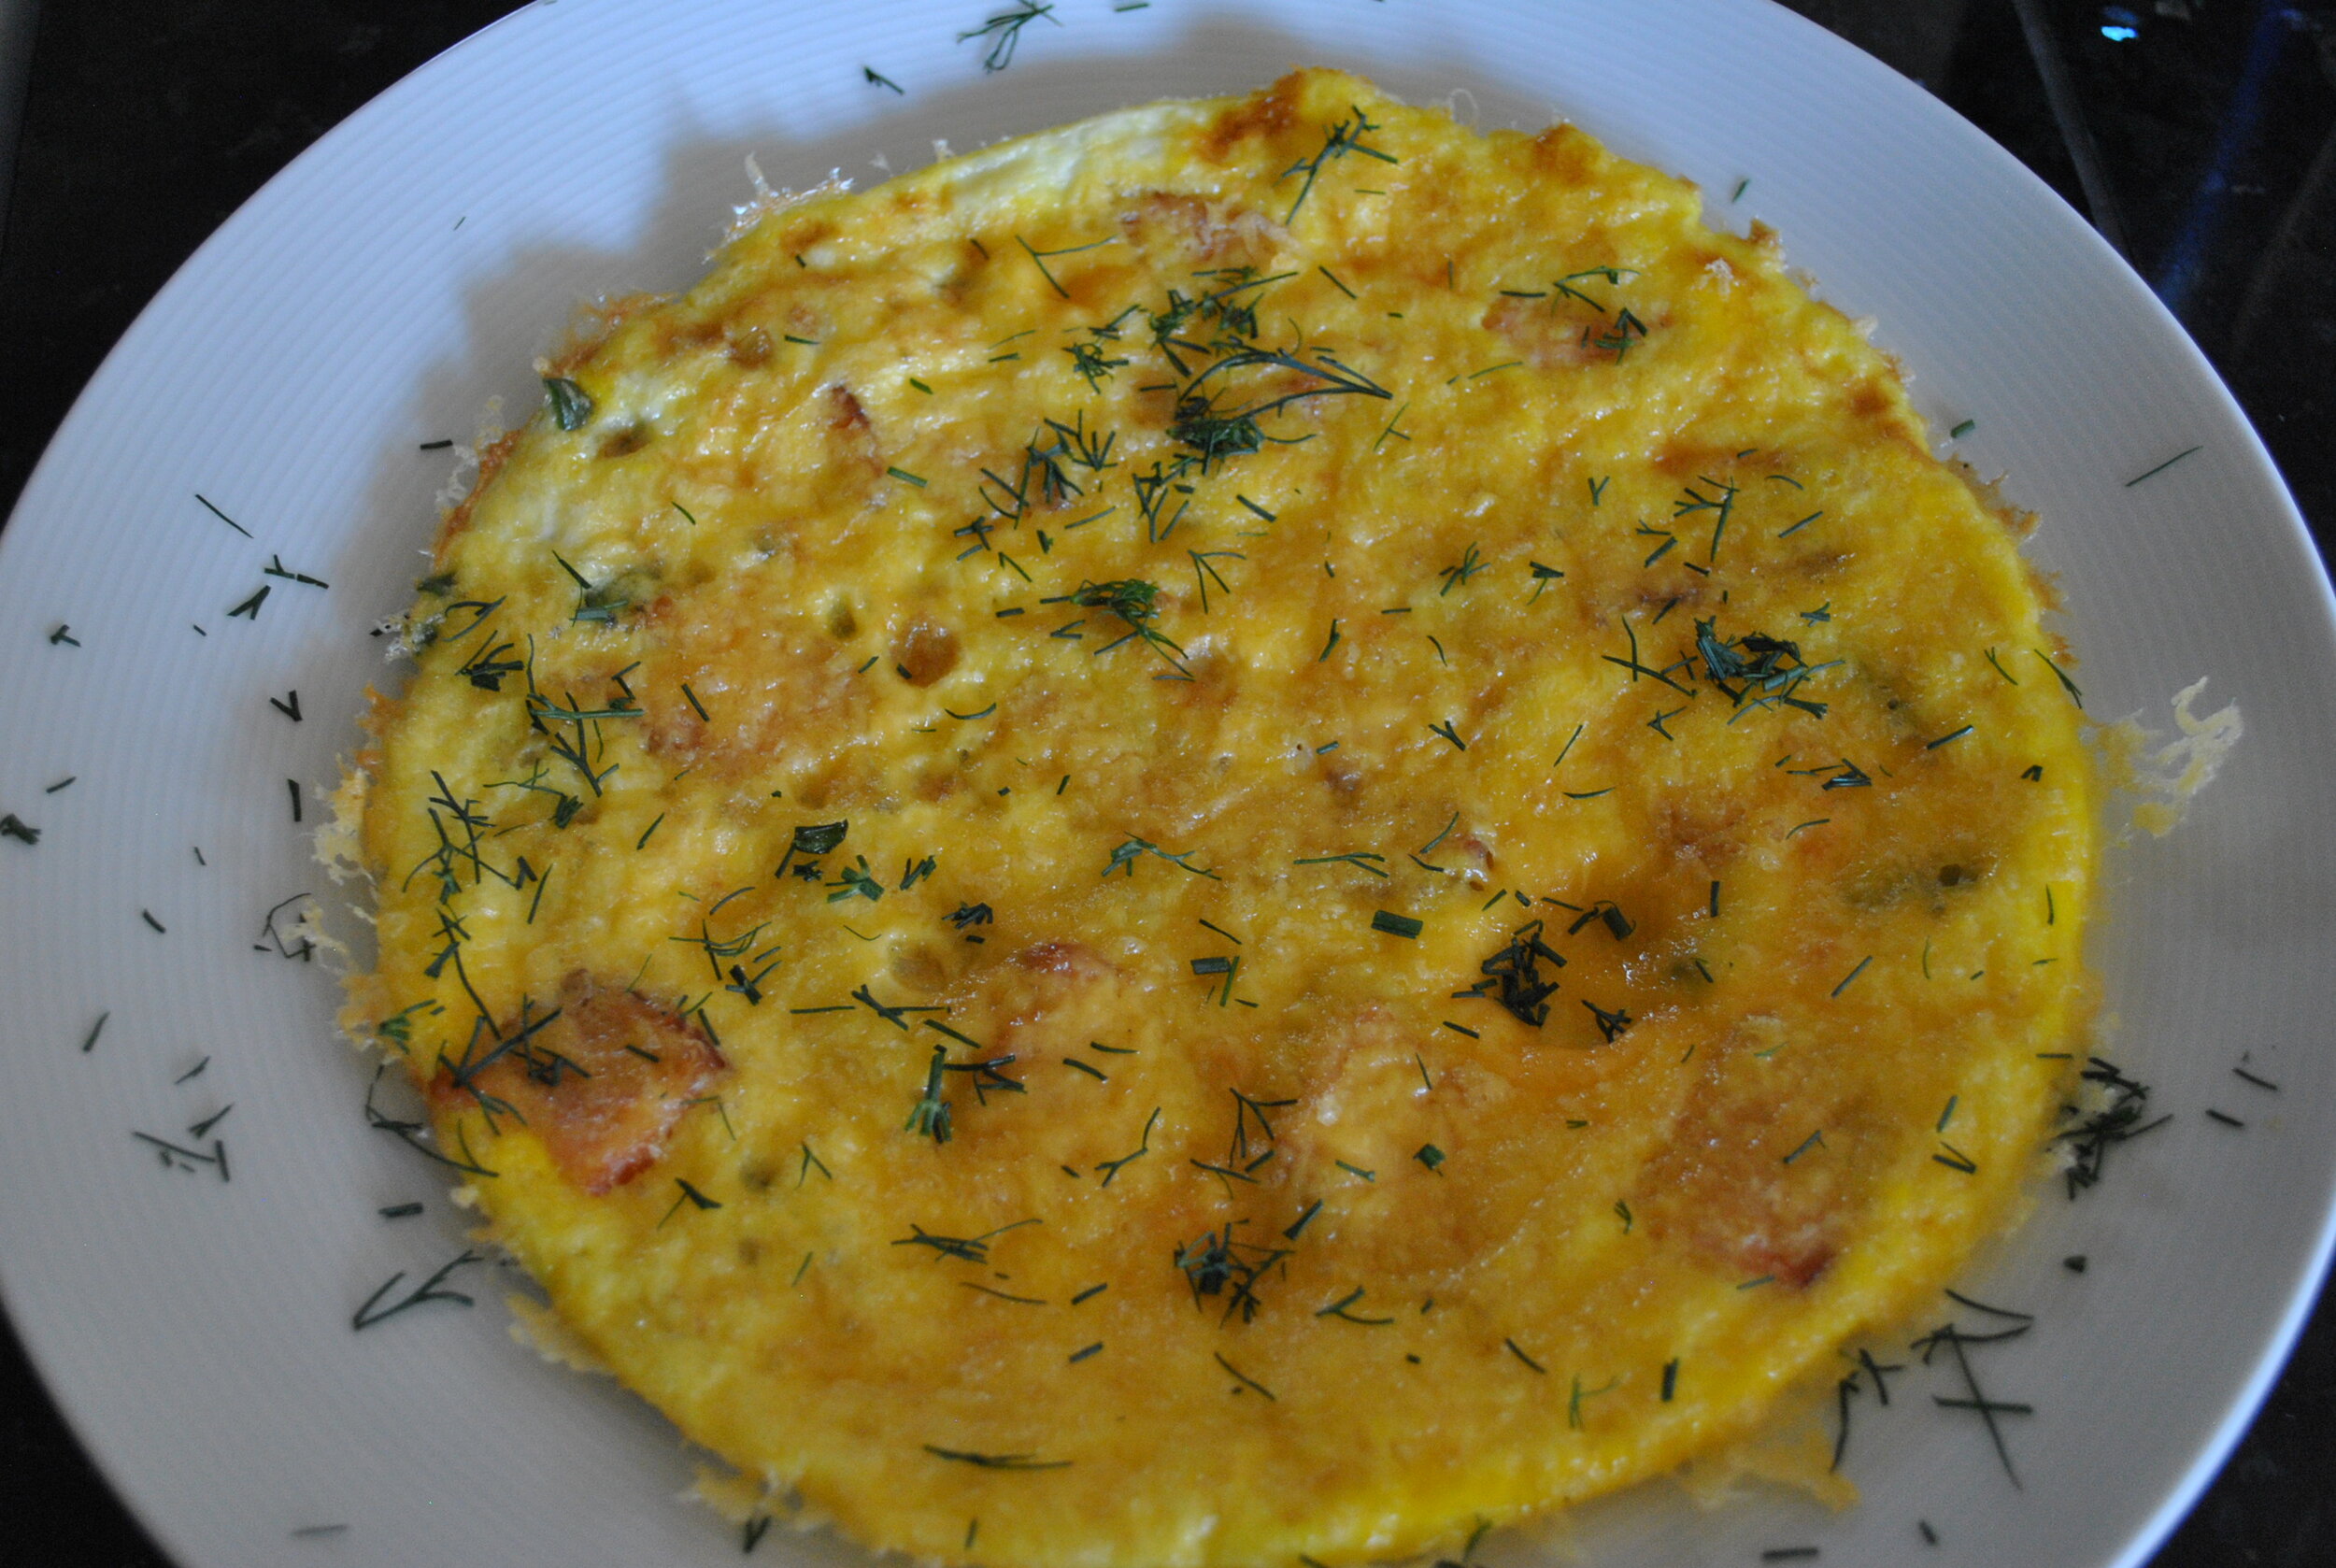 And that is dill!
 With all these recent (ok two...) dairy recipes we have been trying, I got to thinking about Kosher cheeses. Kosher Hubby and I don't use cholov yisroel cheese (if that is Greek to you, that's ok, I'll explain below) but we try to steer clear of animal rennet. So let's talk cheese.What makes cheese Kosher?


